If you’ve read my articles on building the motion simulator, you know I enjoy various forms of racing – including both real on-track driving, as well as sim-racing.
I haven’t upgraded my wheel (Direct Drive wheel is the way to go!), and am still using good old Logitech G920. Magnetic shifters have been a common upgrade, so I decided to make my own version.
Here’s how it turned out:
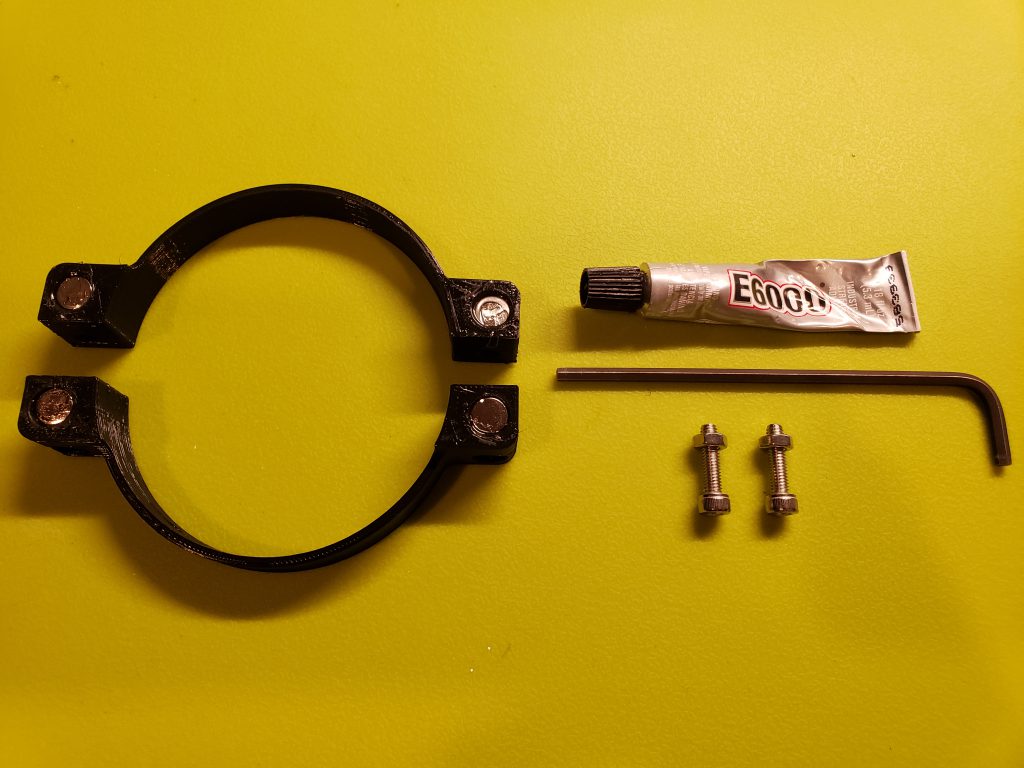
3D printer parts:
And installed:
Just as before, I decided to share my design on Thingiverse – it’s amazing to see how it has grown since the early days of 3D printing!
Please find the link down below.
3D Printing Timelapses
Printing time is fairly short – about 1 hours for each of the 2 pieces.
It will of course depend on the 3D printer and print settings (I used Monoprice Select Mini).
Bill of materials
Magnets: 8mm diameter x 3mm thickness
– 80 pack, $10, Buy on Amazon (recommended)
– 40 pack, $8, Buy on Amazon
Bolts and nuts: M4 x 16mm or M4 x 20mm
– assortment of M2, M3, M4 and M5, hex head, $22, Buy on Amazon (recommended)
– assortment of M4, M5 and M6, round head, $10, Buy on Amazon
Instructions
- 3D Printing
Print without raft and without supports. It’s OK to print at a larger layer height (resolution).When positioning the print for slicing, make sure it’s standing on the flat side (with sockets for magnets being on top). - AssemblyUse a glue to attach the magnets. I used E6000.
Allow to fully dry before installing on the wheel.Tip: install magnets with the opposite poles between the 2 rings (e.g. North-up on ring with screw and North facing down on the ring with nut) – this will cause the 2 parts to attract each other, thus making the install a bit easier.Make sure that the magnets are properly aligned with the paddles before tightening on the wheel
My design is available for free download on Thingiverse:
https://www.thingiverse.com/thing:4198200
It’s a small modification, but makes the shifts feel crisper!
And at a fraction of the price of even cheapest magnetic shifter module from Fanatec… 😉


Leave a Reply