Overview
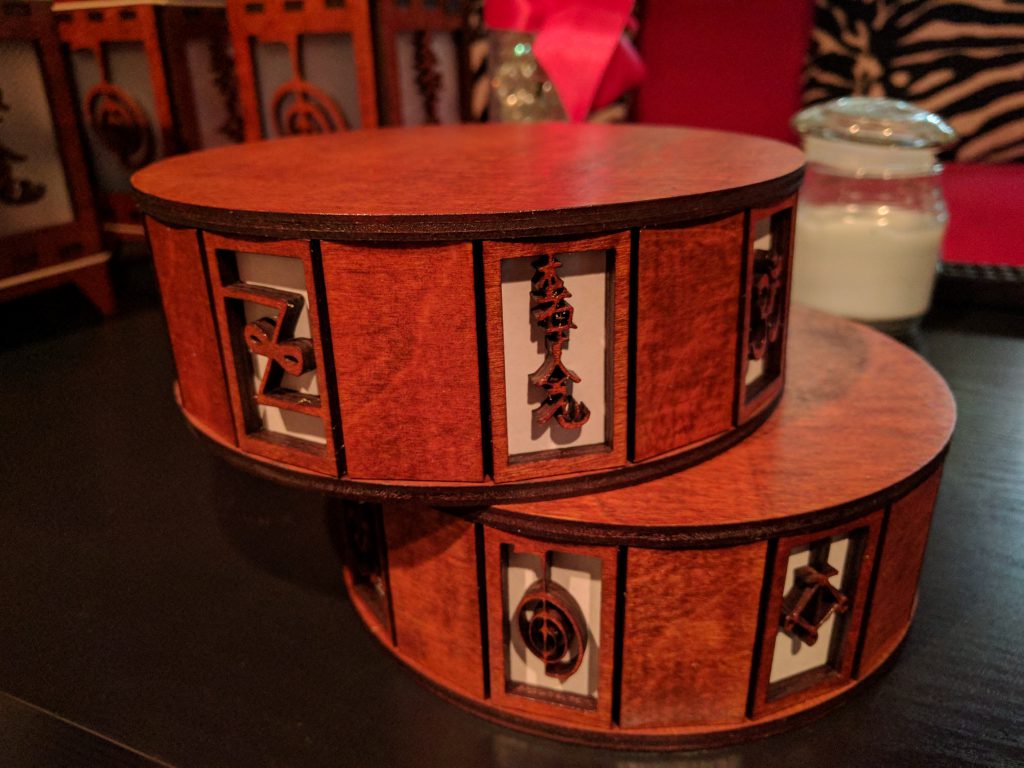
Here’s a simple, easy to make decorative base. It can be used to showcase something kept on top of it, or be turned into a box for an unusual storage.
I made couple of those for my Wife, who was also overlooking the project 🙂
Design
I made the design in Fusion 360:
The design is pretty basic – the one more interesting part is calculating the width of a side panel knowing the radius (or diameter) of the circular base and desired number of side panels.
Here’s a hint:
With r being our radius, the width of a side panel is: 2 * r * sin π/n
For more details, check this out: https://www.voltage.com/math-2/approximating-a-circle-with-a-polygon/
Assembly
All pieces of wood were stained and outer surfaces were sealed with polyurethane (don’t apply poly to inner rings and any inside surfaces, as we want the glue to hold on inside the box).
I started with gluing the inner rings to both base and top lid. It’s very important to align those precisely, as if they’re off center, the side panels will protrude on one side. Once those pieces were glued, I put 3 side panels between them (evenly spaced), and glued those panels in place, making sure that the sides of inner rings are alligned. I started with only 3 to have a solid construction to which I could glue all remaining panels, as it’s easier to deal with them if the bottom and top pieces are not moving. It helps to use some elastic band wrapped around all the sides to keep them in place while glue is drying.
Sides can be further decorated, to provide more detail – this is something that needs to be included in the design before cutting. I made every other side have a cutout symbol, and put a white paper as a high contrast background:

Idea: If instead of a base, you’d like to make a box, don’t glue the inner ring to the top lid, but still glue it to the side pieces. Now, you can either use some joints to hold the lid, or do something more creative: drill matching holes in the upper ring and the lid, and then glue small magnets [double-check the polarity, preferably all pairs the same way so lid can be put in any orientation] in the holes in the lid and ring.


Leave a Reply